Homemade Creamy Butter from Liquid Cream Using Thermomix
Making buttery, creamy homemade butter from liquid cream is easier than you think—especially with a Thermomix. Fresh, homemade butter tastes richer, is free from preservatives, and can be flavored with herbs, garlic, or sea salt. Plus, it’s a fun, hands-on kitchen project that transforms simple cream into a silky, spreadable delight.
With just a few minutes and a Thermomix, you can enjoy butter that’s fresher than anything store-bought.
Why Make Butter at Home?
- Fresher taste than store-bought
- Control over salt and flavorings
- Creamier texture that’s perfect for baking or spreading
- Fun, educational kitchen activity
- Can use high-quality cream for luxurious flavor
Ingredients
- 500 g fresh liquid cream (preferably high-fat, >35%)
- ½ teaspoon salt (optional, adjust to taste)
- Optional flavorings: herbs, garlic, lemon zest
Equipment
- Thermomix
- Spatula
- Fine sieve or muslin cloth
- Bowl for buttermilk
Prep Time
- Prep: 2 minutes
- Processing: 5–10 minutes
- Total time: 10–15 minutes
Instructions
Step 1: Pour Cream into Thermomix
Pour 500 g of fresh cream into the Thermomix bowl. Ensure it’s cold but not chilled—room temperature cream works best for whipping into butter.
Step 2: Whip the Cream
Set Thermomix to speed 4–5 for about 3–5 minutes. Watch closely: the cream will first whip into soft peaks, then stiff peaks, and eventually break into butter solids and liquid buttermilk.
- Tip: Stop occasionally to scrape down the sides with a spatula to ensure even separation.
Step 3: Separate Butter and Buttermilk
Once the butter solids have separated from the buttermilk (a pale yellow clump forms), pour off the liquid into a bowl. This liquid is fresh buttermilk and can be saved for pancakes, baking, or drinking.
Step 4: Wash the Butter
Add cold water to the Thermomix bowl with the butter solids and gently knead on speed 3 for 30 seconds. Pour off the water and repeat 2–3 times until the water runs clear. This step removes excess buttermilk, which helps the butter last longer.
Step 5: Salt and Flavor (Optional)
Add ½ teaspoon salt or your choice of herbs, garlic, or lemon zest. Knead briefly in Thermomix on speed 3 for 20–30 seconds until incorporated.
Step 6: Shape and Store
Transfer the butter to a clean container or mold. Press down to remove any remaining water. Store in the refrigerator for up to 2 weeks or freeze for longer storage.
Tips for Perfect Thermomix Butter
- Use high-fat cream for best results
- Room temperature cream separates faster than very cold cream
- Wash thoroughly to extend shelf life
- Flavor your butter with fresh herbs, garlic, or citrus zest for a gourmet touch
- Use the leftover buttermilk in recipes—nothing goes to waste!
Variations
- Herb Butter: Add chopped parsley, chives, or dill
- Garlic Butter: Add 1–2 cloves finely minced garlic
- Citrus Butter: Add lemon or orange zest for a bright flavor
- Spicy Butter: Add a pinch of chili flakes or smoked paprika
Why Homemade Butter Is Worth It
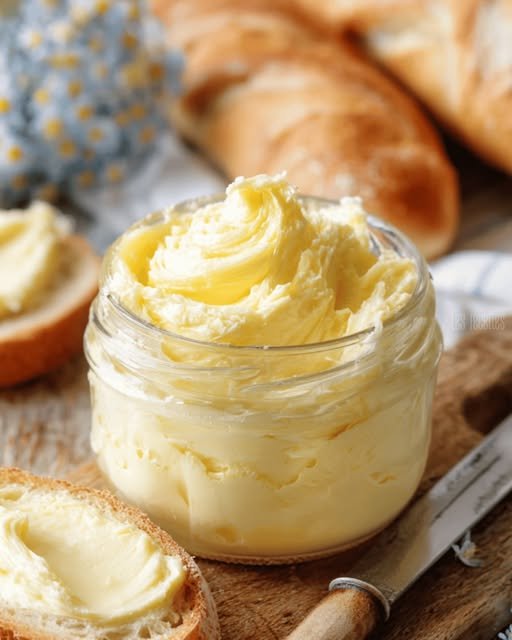
Homemade butter is creamy, fresh, and customizable. Using a Thermomix makes the process fast and easy while letting you see the transformation from cream to butter. It’s perfect for spreading on warm bread, melting over vegetables, or using in your favorite recipes.
Making your own butter also connects you with a traditional culinary craft, turning a simple ingredient into a luxurious homemade treat.
Prep Time: 2 minutes
Processing Time: 5–10 minutes
Total Time: 10–15 minutes
Yield: About 250 g butter (from 500 g cream)