No-Bake Cherry Cheesecake
(Creamy, Effortless, and Perfect for Any Occasion)
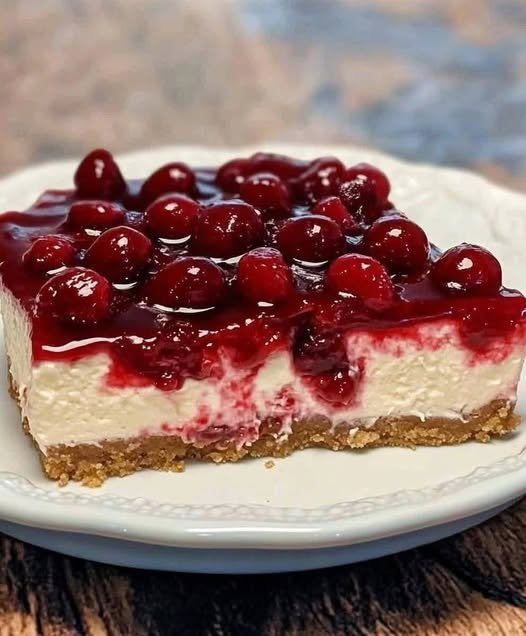
This No-Bake Cherry Cheesecake is the ultimate dessert when you want something impressive without turning on the oven. With a buttery graham cracker crust, a light and creamy cheesecake filling, and a glossy cherry topping, this dessert delivers classic cheesecake flavor with minimal effort.
Perfect for warm days, holidays, potlucks, or make-ahead entertaining, this cheesecake sets beautifully in the refrigerator and slices cleanly every time. It’s a timeless dessert that never goes out of style.
Why You’ll Love This Recipe
-
No oven required
-
Creamy, smooth texture
-
Quick and easy to prepare
-
Perfect make-ahead dessert
-
Loved by all ages
Recipe Overview
Prep Time: 20 minutes
Chill Time: 4–6 hours
Total Time: About 6 hours
Yield: 10–12 servings
Difficulty Level: Easy
Ingredients
Graham Cracker Crust
-
2 cups graham cracker crumbs
-
½ cup unsalted butter, melted
-
2 tablespoons granulated sugar
Cheesecake Filling
-
16 oz (2 blocks) cream cheese, softened
-
1 cup powdered sugar
-
1 teaspoon vanilla extract
-
1½ cups heavy whipping cream, cold
Topping
-
1 can (21 oz) cherry pie filling
Step-by-Step Instructions
Step 1: Make the Crust
In a medium bowl, combine the graham cracker crumbs, melted butter, and sugar until evenly moistened.
Press the mixture firmly into the bottom of a 9-inch springform pan. Use the bottom of a glass to compact the crust evenly. Refrigerate while preparing the filling.
Step 2: Prepare the Cheesecake Filling
In a large bowl, beat the cream cheese until smooth and creamy. Add powdered sugar and vanilla extract, mixing until fully combined.
Step 3: Whip the Cream
In a separate bowl, whip the cold heavy cream until stiff peaks form.
Step 4: Combine Filling
Gently fold the whipped cream into the cream cheese mixture, being careful not to deflate it. Mix just until smooth and fluffy.
Step 5: Assemble the Cheesecake
Spread the cheesecake filling evenly over the chilled crust, smoothing the top with a spatula.
Cover and refrigerate for at least 4–6 hours, or until fully set.
Step 6: Add Cherry Topping
Once the cheesecake is set, spoon the cherry pie filling evenly over the top.
Step 7: Serve
Remove the cheesecake from the pan, slice, and serve chilled.
Tips for the Best No-Bake Cheesecake
-
Use full-fat cream cheese for the best texture.
-
Ensure cream cheese is fully softened to avoid lumps.
-
Whip cream to stiff peaks for a firm set.
-
Chill thoroughly before slicing.
-
Add topping just before serving for the best presentation.
Variations
-
Homemade Cherry Topping: Use fresh or frozen cherries cooked with sugar and cornstarch.
-
Chocolate Crust: Substitute chocolate graham crackers.
-
Mixed Berry Cheesecake: Replace cherry filling with berries.
-
Mini Cheesecakes: Use individual cups or jars.
-
Gluten-Free: Use gluten-free graham crackers.
Storage
-
Refrigerator: Store covered for up to 4 days.
-
Freezer: Freeze without topping for up to 2 months. Thaw in the refrigerator overnight.
Serving Suggestions
-
Serve with coffee or tea
-
Garnish with fresh cherries or chocolate shavings
-
Perfect for holidays, potlucks, and summer gatherings
-
Pair with whipped cream for extra indulgence
Final Thoughts
This No-Bake Cherry Cheesecake is proof that a show-stopping dessert doesn’t need to be complicated. With its creamy filling, buttery crust, and vibrant cherry topping, it’s a dessert that delivers comfort, elegance, and ease in every bite.