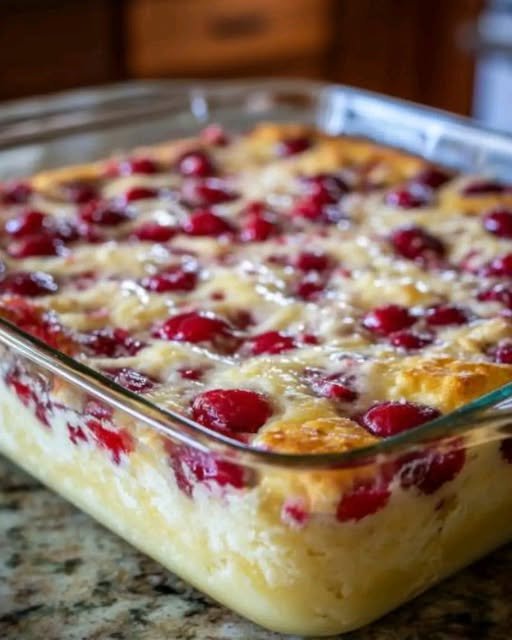
3-Ingredient Cherry Cheesecake Bars
If you’re looking for a dessert that’s quick, easy, and absolutely delicious, these 3-ingredient cherry cheesecake bars are exactly what you need. With a creamy cheesecake base, buttery crust, and sweet cherry topping, they deliver all the flavor of a classic cheesecake without the fuss of complicated ingredients or lengthy baking times.
Perfect for potlucks, last-minute desserts, or satisfying a sweet tooth, these bars are simple enough for beginner bakers while still feeling indulgent and elegant.
Why You’ll Love These Cheesecake Bars
-
Minimal ingredients: Only three ingredients, yet incredibly flavorful.
-
No fancy equipment needed: A simple baking pan and mixing bowl are enough.
-
Versatile: Use fresh, frozen, or canned cherries—or swap in your favorite fruit preserves.
-
Quick prep: You can have these bars ready in under 30 minutes.
These cherry cheesecake bars are creamy, sweet, and perfectly balanced, making them a hit with both kids and adults.
Ingredients
You’ll need just three simple ingredients:
-
1 (8-ounce) package cream cheese, softened
-
1 (14-ounce) can sweetened condensed milk
-
1 (21-ounce) can cherry pie filling (or your favorite fruit preserves)
Ingredient Notes
Cream Cheese:
Use full-fat cream cheese for the creamiest texture. Make sure it’s softened to room temperature to avoid lumps.
Sweetened Condensed Milk:
This adds sweetness and helps the cheesecake set without eggs.
Cherry Pie Filling:
Canned cherry pie filling is convenient and gives a glossy, sweet topping. You can also use other fruit toppings like blueberry, raspberry, or strawberry preserves.
How to Make 3-Ingredient Cherry Cheesecake Bars
Step 1: Preheat the Oven
Preheat your oven to 350°F (175°C). Line an 8×8-inch baking pan with parchment paper or lightly grease it to prevent sticking.
Step 2: Make the Cheesecake Base
In a medium mixing bowl, beat the softened cream cheese until smooth and creamy. Gradually add the sweetened condensed milk, mixing until fully combined. The mixture should be smooth, without lumps.
Step 3: Bake the Cheesecake Layer
Pour the cream cheese mixture into the prepared baking pan and spread it evenly. Bake for 15–20 minutes, or until the edges are lightly golden and the center is set.
Step 4: Add the Cherry Topping
Remove the cheesecake layer from the oven and let it cool slightly. Spoon the cherry pie filling evenly over the top. You can gently spread it with a spatula, but don’t press too hard—you want a nice layered look.
Step 5: Chill and Set
Refrigerate the bars for at least 2 hours, or until fully chilled and firm. This makes slicing clean and easy.
Step 6: Serve
Cut into squares or rectangles and serve chilled. These bars pair wonderfully with whipped cream, fresh cherries, or a sprinkle of powdered sugar.
Tips for Success
-
Room temperature ingredients: Ensure the cream cheese is soft to avoid lumps.
-
Even layers: Spread the cream cheese layer evenly for a uniform bar.
-
Chill thoroughly: Refrigeration is key for clean slices.
-
Alternative toppings: Swap cherries for your favorite fruit, chocolate chips, or caramel drizzle.
Storage
Store these cherry cheesecake bars in an airtight container in the refrigerator for up to 5 days. They also freeze well—wrap each bar individually and freeze for up to 2 months. Thaw in the fridge before serving.
Variations
-
Chocolate Cherry Cheesecake Bars: Swirl melted chocolate into the cream cheese mixture before baking.
-
Mini Cheesecake Bars: Use a muffin tin for individual portions.
-
Berry Mix: Combine different berries for a mixed fruit version.
-
Nutty Crunch: Add a layer of crushed graham crackers or nuts under the cream cheese for extra texture.
Final Thoughts
These 3-ingredient cherry cheesecake bars prove that dessert doesn’t need to be complicated. With minimal prep, simple ingredients, and maximum flavor, they’re the perfect solution for last-minute dessert cravings or a quick sweet treat. Once you try them, you’ll keep this recipe on hand for every occasion that calls for an easy, delicious dessert.