Nun’s Puffs with Cheese (Thermomix Recipe)
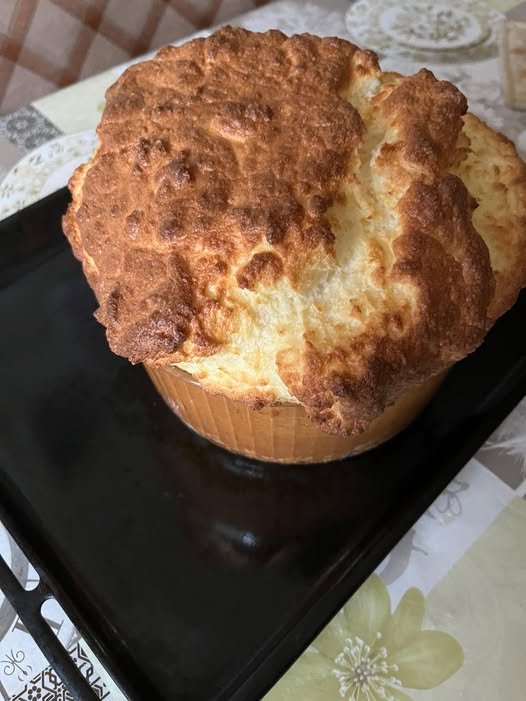
Nun’s Puffs, also known as cheese choux puffs or gougère-style puffs, are delicate, golden bites made from classic choux pastry enriched with cheese. Using the Thermomix makes this recipe effortless and foolproof, producing beautifully puffed cheese balls every time.
They’re ideal for entertaining, holiday appetizers, brunch tables, or served alongside soups and salads.
Why You’ll Love These Cheese Puffs
- Light, airy, and perfectly puffed
- Made easily in the Thermomix
- Crispy outside, soft inside
- Cheesy and savory
- Perfect make-ahead appetizer
Ingredients (Makes 20–25 puffs)
Choux Dough
- 150 g water
- 60 g unsalted butter, cut into pieces
- ½ teaspoon salt
- 1 teaspoon sugar (optional, traditional but can be omitted)
- 120 g all-purpose flour
Add-ins
- 3 large eggs (room temperature)
- 80 g grated cheese (Gruyère, Emmental, cheddar, or Parmesan)
- Pinch of black pepper or nutmeg (optional)
How to Make Nun’s Puffs with Cheese in the Thermomix
Step 1: Heat the Liquid
Add water, butter, salt, and sugar to the Thermomix bowl.
Cook 5 min / 100°C / speed 1.
Step 2: Add Flour
Add flour all at once.
Mix 20 sec / speed 4.
Then cook 2 min / 90°C / speed 3, removing the measuring cup to allow steam to escape.
This step dries the dough slightly, which is essential for good puffing.
Step 3: Cool the Dough Slightly
Let dough cool in the bowl for 5 minutes.
This prevents the eggs from scrambling.
Step 4: Add Eggs
With the machine running on speed 4, add eggs one at a time through the lid, allowing each egg to fully incorporate before adding the next.
The dough should be smooth, glossy, and thick but pipeable.
Step 5: Add Cheese
Add grated cheese and optional pepper or nutmeg.
Mix 15 sec / speed 3.
Step 6: Shape the Puffs
Preheat oven to 200°C / 400°F.
Line a baking tray with parchment paper.
Using two spoons or a piping bag, drop small mounds of dough onto the tray, spacing them apart.
Step 7: Bake
Bake for 20–25 minutes, until puffed and golden.
⚠️ Do not open the oven during baking or the puffs may collapse.
For extra crispness, turn off the oven, crack the door slightly, and leave puffs inside for 5 minutes.
Tips for Perfect Nun’s Puffs
- Use room-temperature eggs
- Don’t overfill trays—they expand a lot
- Cheese choice matters: Gruyère gives classic flavor
- Do not open oven early
- Dough consistency should be thick but smooth
Variations
Extra Cheesy
Increase cheese to 100 g for bolder flavor.
Herb Cheese Puffs
Add chopped chives, thyme, or rosemary.
Spicy Version
Add a pinch of cayenne or paprika.
Sweet Nun’s Puffs
Omit cheese and pepper, keep sugar, and dust baked puffs with powdered sugar.
Serving Suggestions
- Serve warm with drinks as an appetizer
- Pair with soups or salads
- Fill with cream cheese, smoked salmon, or herbed butter
- Serve on a cheese board
Storage & Make-Ahead
- Best eaten fresh
- Store at room temperature up to 1 day
- Freeze baked puffs up to 1 month
- Reheat in oven at 180°C / 350°F for 5–7 minutes
Final Thoughts
These Nun’s Puffs with Cheese made in the Thermomix are light, elegant, and incredibly versatile. With minimal ingredients and simple steps, you can create bakery-quality cheese puffs that look impressive and taste irresistible.
Once you try them, they’ll become a go-to Thermomix appetizer for every occasion.