Gluten-Free Ciabatta Rolls
Light, airy, and chewy—without the gluten
Ciabatta is loved for its crisp crust, open crumb, and rustic Italian character, but traditional versions rely heavily on gluten for structure. Creating that same texture without wheat can feel impossible, but with the right ingredients and technique, gluten-free ciabatta rolls are absolutely achievable at home.
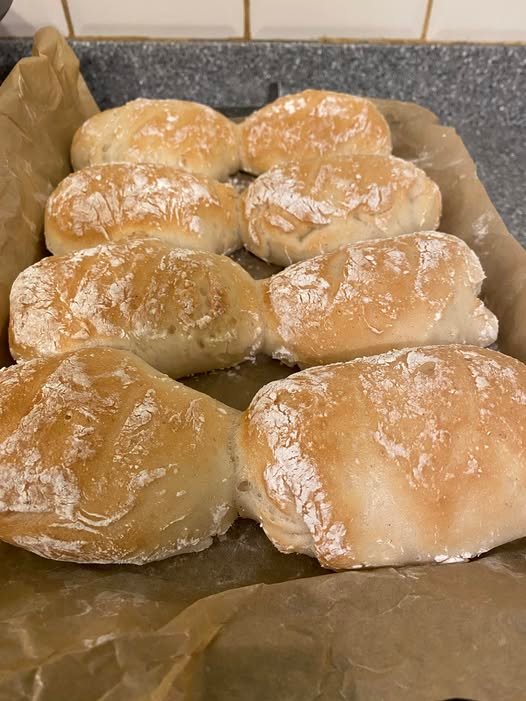
These rolls are soft and chewy inside, lightly crisp on the outside, and perfect for sandwiches, panini, or serving alongside soups and salads. This recipe uses a high-hydration dough, similar to classic ciabatta, combined with a carefully balanced gluten-free flour blend to mimic the elasticity gluten normally provides.
Why This Gluten-Free Ciabatta Works
Unlike standard bread dough, gluten-free dough is more like a thick batter than something you knead. Instead of developing gluten, structure comes from:
-
Proper hydration
-
Yeast fermentation
-
Starches like tapioca and potato
-
Psyllium husk or xanthan gum for elasticity
This recipe focuses on steam, hydration, and gentle handling to create the signature ciabatta texture—large holes, light crumb, and a rustic shape.
Ingredients (Makes 6 Rolls)
Dry Ingredients
-
300 g gluten-free bread flour blend (with rice flour, potato starch, tapioca starch)
-
20 g tapioca starch (for chewiness)
-
2 tsp instant yeast
-
1½ tsp salt
-
1 tbsp sugar or honey
-
2 tsp psyllium husk powder (or 1½ tsp xanthan gum)
Wet Ingredients
-
320 ml warm water (about 38–40°C / 100–105°F)
-
2 tbsp olive oil
-
1 tsp apple cider vinegar
Step-by-Step Instructions
1. Activate Structure (Important Step)
In a small bowl, mix:
-
Warm water
-
Psyllium husk powder
Stir well and let sit for 2–3 minutes until it thickens into a gel. This mimics gluten’s elasticity and is essential for proper texture.
2. Mix the Dough
-
In a large bowl, combine all dry ingredients.
-
Add the psyllium gel, olive oil, and apple cider vinegar.
-
Mix with a wooden spoon or stand mixer (paddle attachment) for 3–4 minutes until smooth and sticky.
The dough should be very wet and elastic—this is normal for ciabatta.
3. First Rise
-
Cover the bowl and let the dough rise in a warm place for 45–60 minutes, or until visibly puffy and almost doubled in volume.
Do not overproof—gluten-free dough can collapse if left too long.
4. Shape the Rolls (Gently!)
-
Line a baking tray with parchment paper and dust generously with gluten-free flour.
-
Scrape the dough onto the floured surface.
-
With floured hands or a bench scraper, gently divide into 6 rough rectangles.
Do not knead or punch down—this preserves air pockets.
5. Second Rise
-
Cover loosely with a towel and let rise for 20–30 minutes while the oven preheats.
6. Bake with Steam
-
Preheat oven to 230°C (450°F).
-
Place a metal tray on the bottom rack of the oven.
-
When ready to bake, pour hot water into the tray to create steam and immediately place the rolls in the oven.
-
Bake for:
-
15 minutes with steam
-
Reduce to 210°C (410°F) and bake another 10–12 minutes
Rolls should be golden with a firm crust.
7. Cool Completely
Remove from oven and cool on a wire rack for at least 30 minutes before slicing. Gluten-free bread continues to set as it cools.
Tips for Perfect Gluten-Free Ciabatta Rolls
1. Hydration Is Key
Ciabatta dough must be wet. If it feels like regular bread dough, it’s too dry.
2. Use Steam
Steam helps create a crisp crust and allows maximum oven spring.
3. Don’t Overhandle
Rough shaping is part of ciabatta’s charm—and helps preserve air pockets.
4. Choose the Right Flour
A blend with rice flour, tapioca, and potato starch works best. Avoid single-flour substitutes.
Serving Ideas
These gluten-free ciabatta rolls are incredibly versatile:
-
Sandwiches with grilled chicken or vegetables
-
Panini with mozzarella and tomato
-
Dipped in olive oil and balsamic
-
Served with soups and stews
-
Toasted for breakfast with butter or jam
Storage & Freezing
-
Room temperature: Best eaten the same day
-
Refrigerator: Not recommended (dries them out)
-
Freezer: Freeze cooled rolls for up to 2 months
-
Reheat: Toast or warm in oven for best texture
Common Mistakes to Avoid
-
Skipping psyllium or xanthan gum (leads to crumbly bread)
-
Adding too much flour during shaping
-
Overproofing the dough
-
Cutting before fully cooled
Final Thoughts
Making gluten-free ciabatta rolls at home is deeply rewarding. While the dough behaves differently from wheat bread, the result is a rustic roll with a crisp crust and light, airy interior—proof that gluten-free baking doesn’t have to mean dense or dry bread.
Once you master this technique, you’ll find yourself returning to it again and again, whether for sandwiches, dinner rolls, or casual entertaining.